If your rural lane or suburban entry is showing ruts, potholes, or persistent washboarding, I want to walk you through options for gravel driveway repaire in Washington that actually last. Washington is home to more than 7.7 million residents, and the combination of heavy rains, winter freeze-thaw cycles, and seasonal traffic means driveways here need repair plans that match local conditions, not generic fixes from another state https://www.census.gov/.
Why gravel driveways need attention in Washington
Gravel is a smart choice for many homeowners in Washington because it’s affordable, drains well, and blends into rustic and suburban landscapes. But gravel isn’t maintenance-free. Over time, wheel tracks form, water channels through joints, and material migrates to the shoulders or into ditches. In wetter parts of the state, erosion happens faster. In colder pockets, freeze-thaw cycles break down the finer particles and push larger stones upward, creating washboarding that feels like you’re driving over a corrugated road.
I’ve worked with property owners across neighborhoods — from valley lanes to hilltop driveways — and I’ve seen the same avoidable mistakes: skipping proper grading, using the wrong base material, and ignoring drainage. The result is repeated repairs and rising costs. The good news is that the right repair sequence and materials stop the cycle.
Common problems I see across the city
When I inspect a gravel driveway, I check three main things: how water flows across the surface, whether the base can carry the load, and if the surface material is appropriate for local traffic. Those factors explain most driveway failures in this area.
Erosion and ruts
Erosion happens where water concentrates: down the middle of the drive, alongside tire tracks, or where a driveway meets the roadway. Ruts form when the base material has been washed out or compacted unevenly. Left alone, ruts get deeper and become channels that funnel more water, making the problem worse each storm.
Washboarding and potholes
Washboarding — a series of small ridges across the surface — is caused by the repeated action of tires pushing and pulling over loose gravel. Potholes are places where the binder or fines have been lost and stones drop into a void. Both issues reduce the life of a drive and make daily use unpleasant.
Repair or full replacement: a quick checklist
Deciding whether to repair or replace comes down to three questions: How deep are the problems? How solid is the existing base? How long do you want the driveway to last before the next major investment? Use this checklist when you evaluate a driveway:
- Surface damage less than 4–6 inches deep and base looks compacted: repair usually works.
- Base shows widespread washout, soft spots, or persistent standing water: consider a full rebuild with new base material.
- Driveway carries heavy or frequent truck traffic (deliveries, RVs): upgrade to a thicker base and consider stabilization options.
- Repeated short repairs were done without addressing drainage: plan for a longer-term fix that includes grading and culverts where needed.
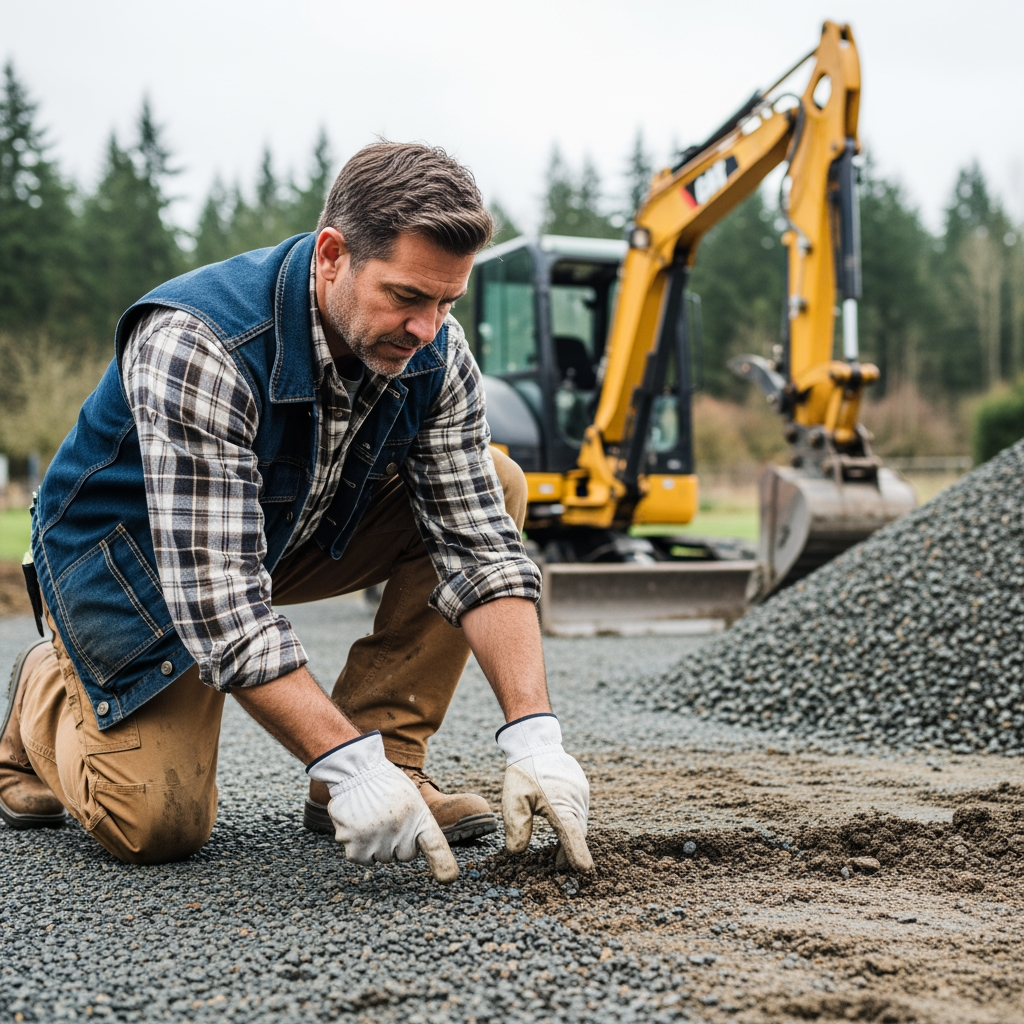
Step-by-step gravel driveway repair process
I follow a methodical sequence for repairs that helps avoid short-term fixes. The process focuses on drainage, base integrity, and correct material placement. Here’s the workflow I recommend:
1. Evaluate and plan
Start with a full walk-through. I look for low spots, patterns of erosion, edge migration, and where the driveway meets public roads. This stage determines whether I need to add culverts, regrade slopes, or bring in heavier base rock.
2. Regrade and reshape
Proper crown and slope are essential. A well-shaped driveway sheds water to the shoulders and into ditches or storm drains instead of down the center. For most gravel drives I re-establish a slight crown (higher at the center) and slope toward the edges, using compactors and a grading blade to create a smooth, even surface.
3. Repair or replace the base
If the base is compromised, removing the top layer and installing a new compacted base of crushed rock (commonly ¾” minus or similar) makes a huge difference. For less severe issues, scarifying the surface, mixing in fresh aggregate, and compacting can restore structural integrity.
4. Add the right surface gravel
Not all gravel is equal. I prefer a mix with angular stones that lock together and a proportion of fines to bind the surface. For driveways where washboarding has been a problem, a coarser surface topped by a compacted layer of smaller material helps resist movement.
5. Compact and finish
Compaction is the most overlooked step. Lightly spreading material and leaving it loose invites movement. Proper mechanical compaction seals the structure, reduces voids, and prevents rapid washout during the next heavy rain.
Tools, materials, and what to expect on site
Here are the common tools and materials I use on a standard repair job. If you hire an excavating contractor, this is a baseline checklist so you know what they should bring.
Materials:
- Crushed rock base (¾” minus or compactable base rock)
- Surface gravel (angular stones and a share of fines)
- Geotextile fabric for weak subgrade or areas prone to washout
- Optional stabilizer product when long-term locking is needed
Equipment:
Grader or box blade, plate compactor or roller, skid steer or mini-excavator for hauling and shaping, and hand tools for finishing touches.
Costs and budgeting for this area
Costs vary widely based on scope, access, and material choice. A simple surface repair—regrading, adding 2–4 inches of new surface gravel, and compacting—can be the most cost-effective fix and usually requires less time and fewer materials. A full rebuild, where the base is replaced and new drainage added, is a larger upfront investment but can double or triple the lifespan of the driveway.
When planning a budget, factor in:
- Haul distance for gravel (closer quarries reduce cost).
- Access for equipment (tight or steep driveways may require smaller—but slower—machines).
- Drainage upgrades like culverts or ditches.
- Stabilization options if you want a longer-lasting surface with less maintenance.
Permits, drainage, and environmental considerations
Before pulling permits or starting work near a public right-of-way, check with your city or county for rules around driveway approaches, culvert size, and setback from roadside drainage systems. Many jurisdictions in Washington require simple permits for changing a drive approach or installing culverts that connect to public ditches.
Environmentally, keeping sediment out of waterways is crucial. Properly installed silt fencing, immediate stabilization of disturbed surfaces, and routing runoff to vegetated areas reduce downstream impacts. Geotextile fabric underneath the base helps prevent soil migration into the aggregate, prolonging the life of the drive and protecting nearby streams.
2025 trends: stabilizers and sustainable options
Two trends I’m seeing this year are gravel stabilizers and the use of recycled materials. Stabilizers — either mechanical grids placed under the gravel or resin binders mixed into the surface — reduce migration and washout while preserving the natural look of a gravel drive. They’re an excellent middle ground between loose gravel and pavement.
Recycled asphalt and crushed concrete are also popular where the price of virgin aggregate is high. These materials compact well and are often less expensive, but they can change the appearance and drainage slightly, so I discuss tradeoffs with homeowners up front.
How to choose the right excavating contractor
Not every contractor approaches gravel the same way. When I recommend a contractor, I look for someone who asks the right questions and explains the process clearly. Here’s how to vet a professional in this area:
- Ask for before-and-after photos of similar jobs and references from local customers.
- Confirm they will address drainage first, not just add surface rock.
- Check equipment availability: a grader and compactor are important for durable results.
- Request a written estimate that breaks down materials, labor, and anticipated timeline.
Simple maintenance plan to make repairs last
After a repair, a short, seasonal maintenance plan stops small issues from becoming big problems. I recommend two quick visits per year: one after the wettest season to check for erosion and regrade as needed, and one in late spring to inspect for washboarding and fill any low spots. Keeping vegetation trimmed at the edges and preventing water from running straight down the center are low-cost actions that extend the life of any gravel driveway.
Follow this basic schedule:
- Spring: Check grade and fill low spots; recompact if needed.
- Autumn: Inspect culverts and ditches; remove accumulated sediment.
- After heavy storms: Look for new ruts or erosion and address immediately.
Final thoughts and next steps
Fixing a gravel driveway in Washington is less about throwing more rock on the surface and more about managing water, building a stable base, and choosing materials that suit local conditions. Whether you want a low-cost patch or a long-term rebuild, a clear plan keeps costs down and prevents repeated repairs. If you’re ready to get a professional assessment and an honest estimate, contact Blind Horse LLC to schedule a site visit and learn which repair path makes the most sense for your property.